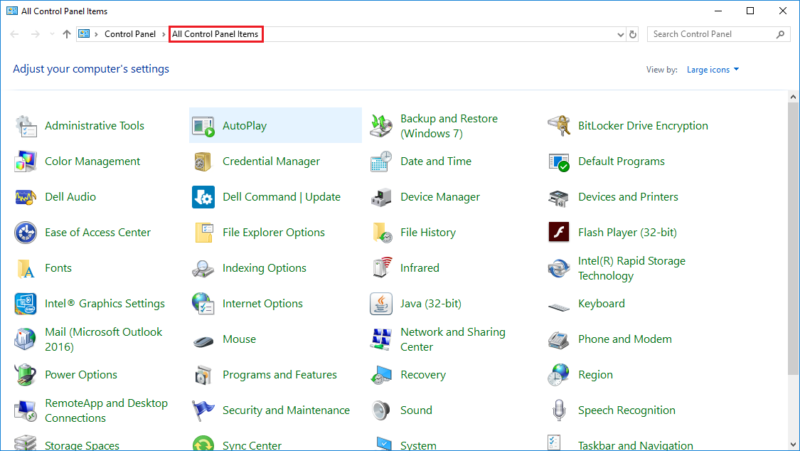
1. Open the “Control Panel” by searching for it in the search bar next to the Start Button.

2. Ensure that “All Control Panel Items” is your active view at the top of the window.
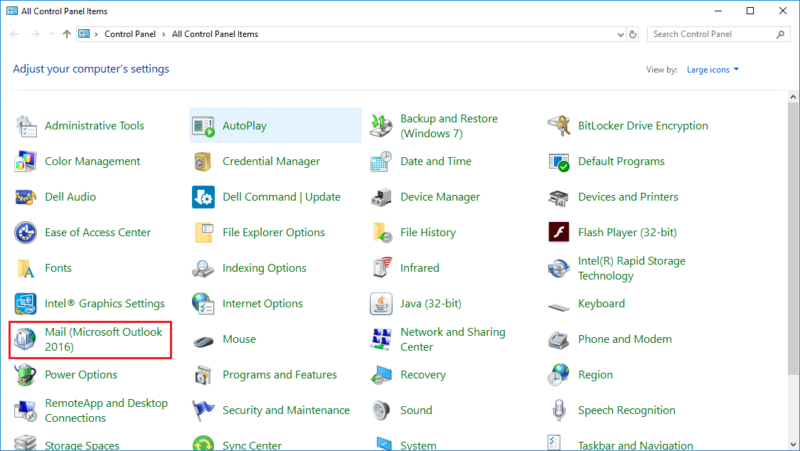
3. Click on the “Mail (Microsoft Outlook…)” icon.
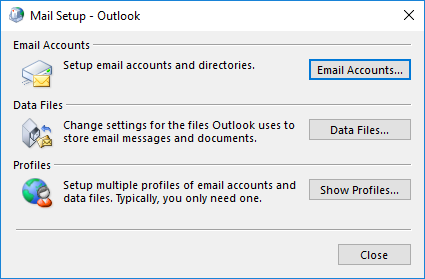
4. In the “Mail Setup – Outlook” dialog box, click “Email Accounts…”.
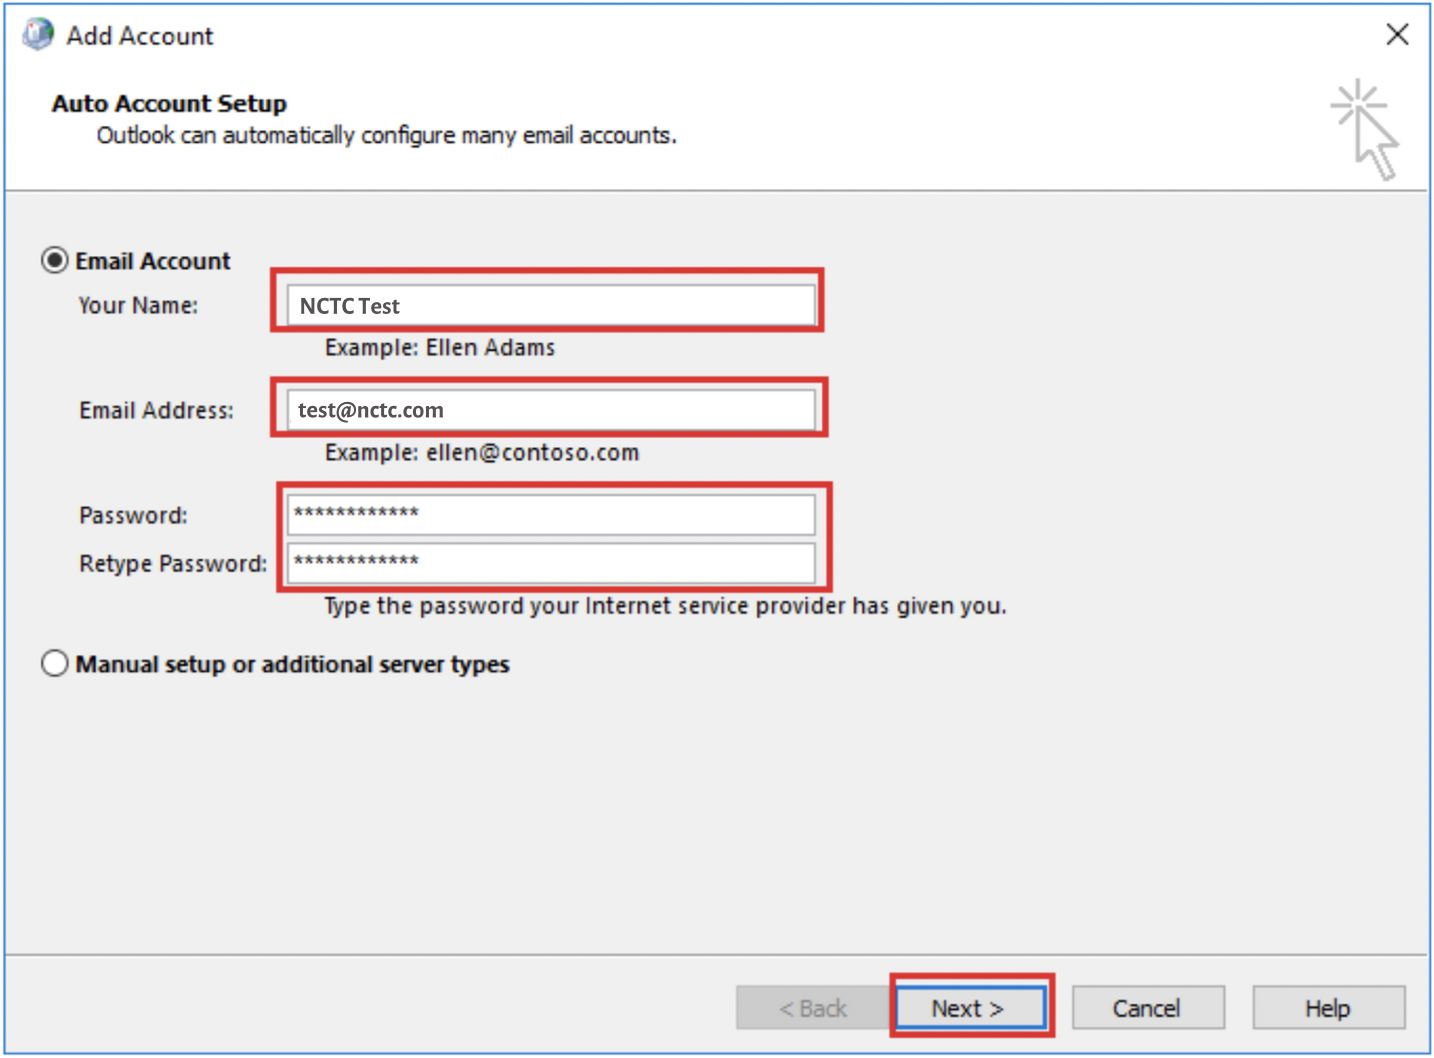
5. On the Add Account window that shows up afterwards, fill out the
fields:
– Your Name:
– Email Address:
– Passwords:
– Retype Password:
Then click on the “Next” button.
NOTE: If the auto-configuration process doesn’t work, see the section below for manual configuration instructions.
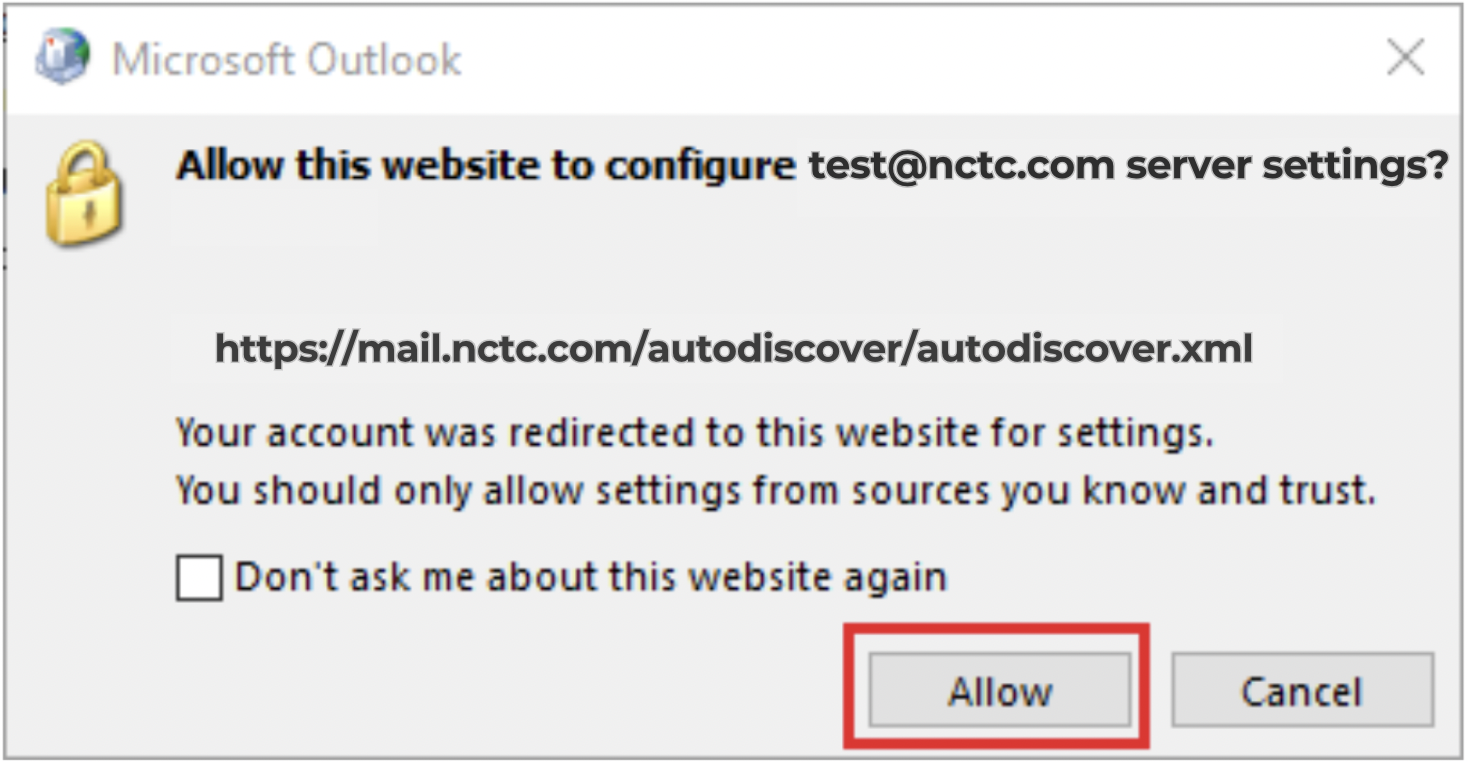
6. A dialog box asking to configure server settings may appear, if so, click “Allow”.
7. A dialog box should appear next checking off the configuration process. After the configuration is done, it should say the email is successfully
configured. Click “Finish”

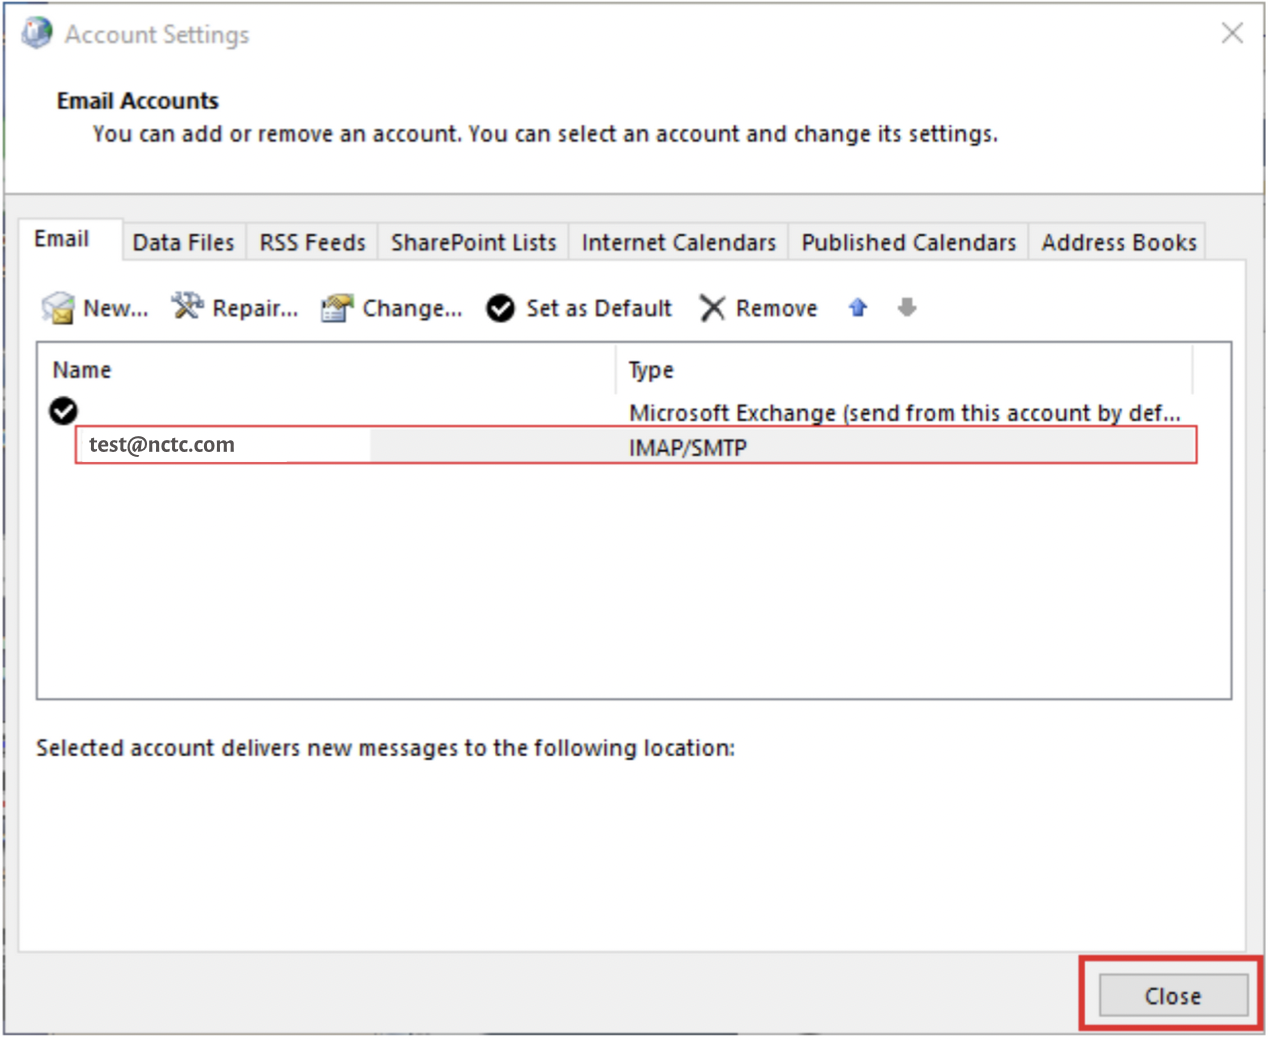
8. You should be met with the Account Settings dialog box and the new email address should be on the list. Click “Close”.
9. Open Outlook as normal to view your mail.
Manual Email Configuration
If the auto-configuration doesn’t work, you can choose to do a manual account setup. To do so, follow the steps below:
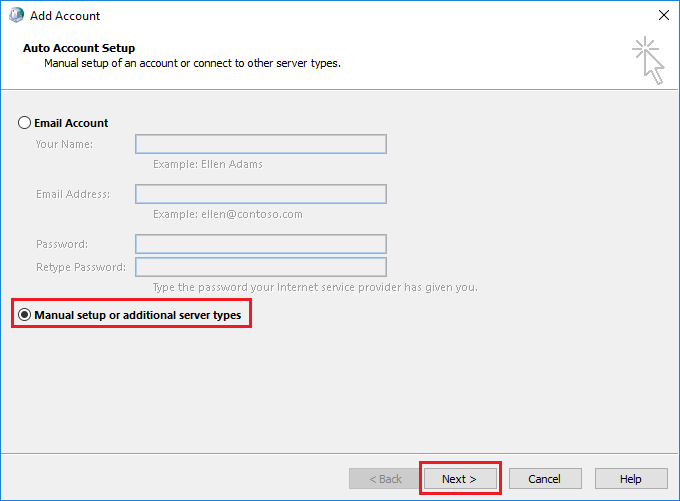
1. At the “Add Account” dialog box, select the option “Manual setup or additional server types” and click “Next”.
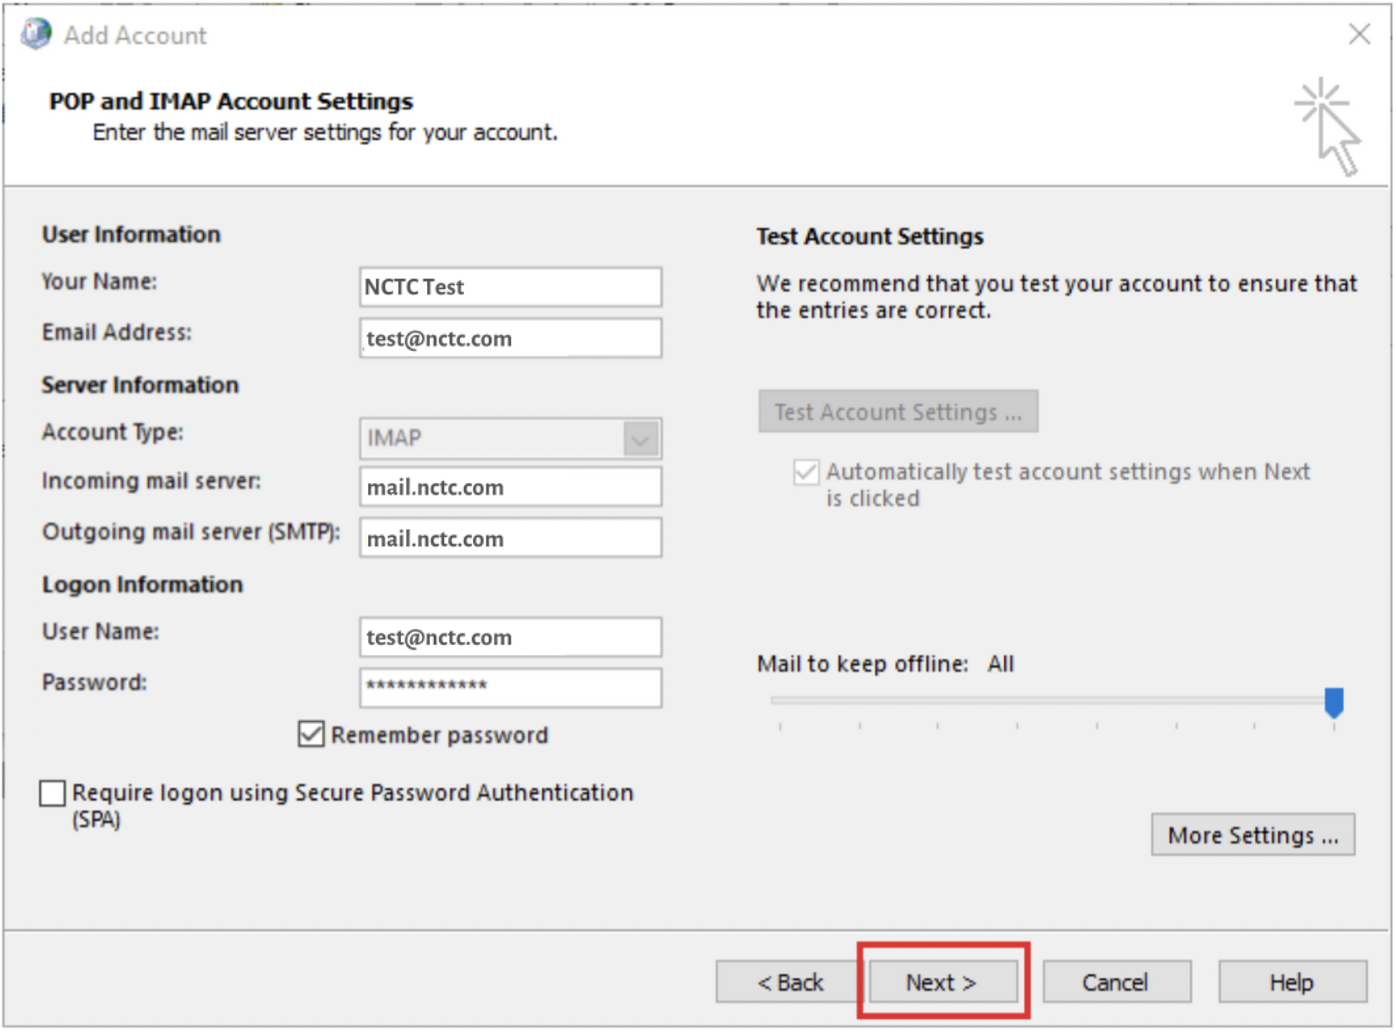
2. For the account type, click the “POP or IMAP” radio button and click “Next”.

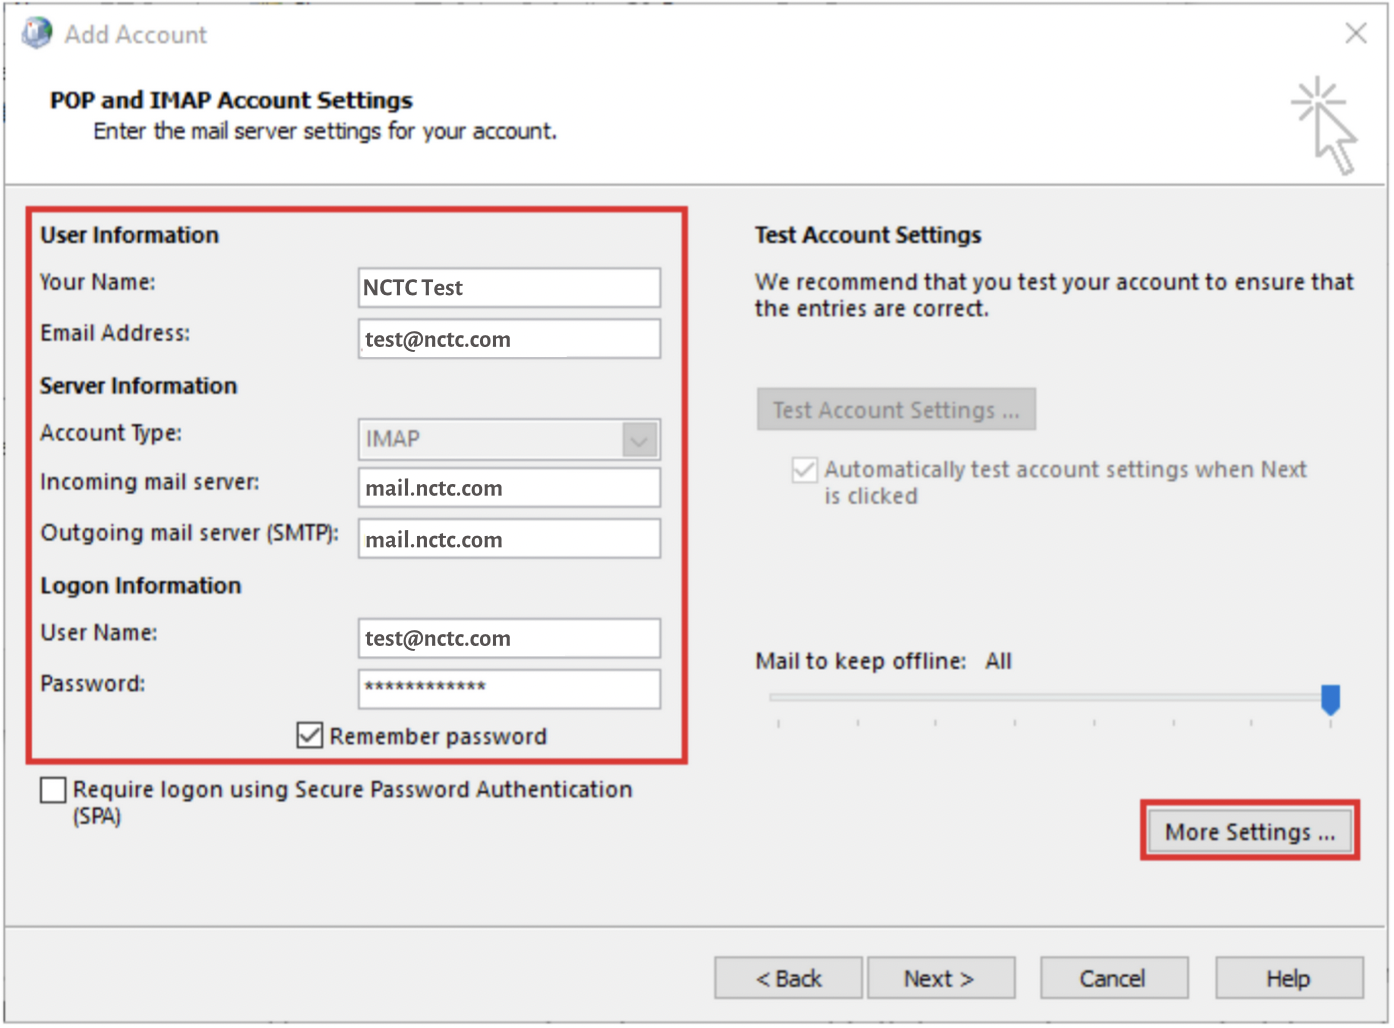
3. Input the required information using the image below as a template. Click “More Settings…”.
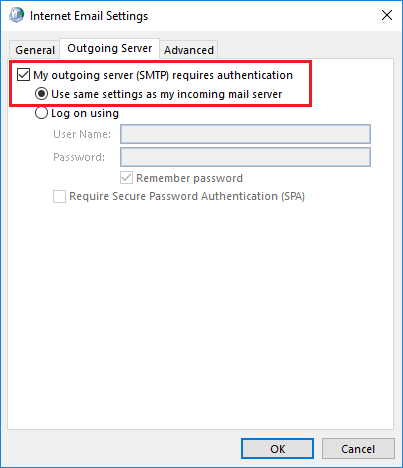
4. Click the “Outgoing Server” tab.

5. Ensure the “My outgoing server (SMTP) requires authentication” checkbox is checked and the “Use the same settings as my incoming mail
server” radio button is filled.
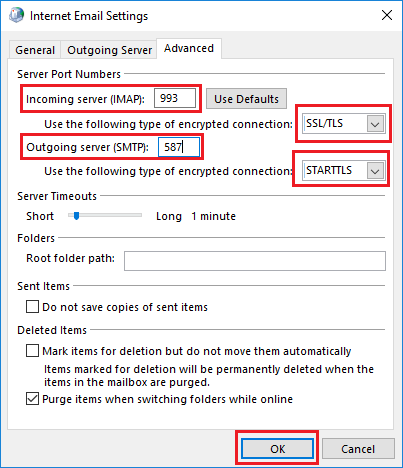
6. Click the “Advanced” tab.
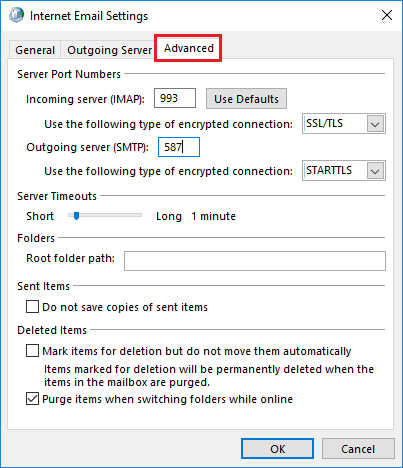
7. Make sure the server settings are set as such and Click OK:
Incoming Server (IMAP): 993
Use the following type of encrypted connection: SSL/TLS
Outgoing Server (SMTP): 587
Use the following type of encrypted connection: STARTTLS
8. Back at the account settings, click “Next”.
9. A “Test Account Settings” dialog box will appear and automatically run two tests. Once they are completed, click “Close”.

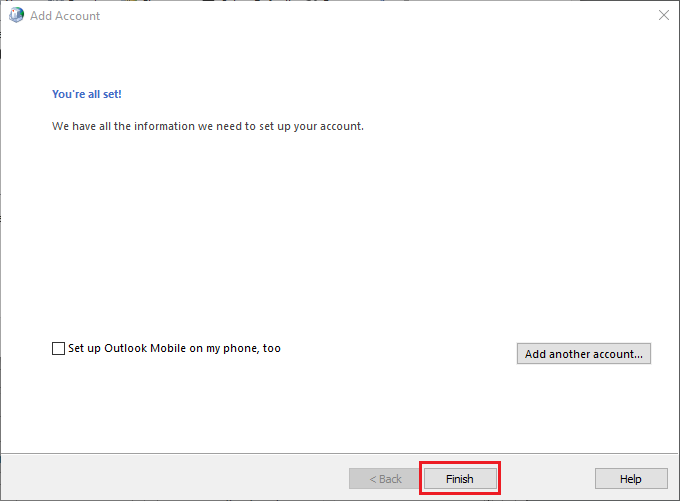
10. The next dialog box will say “You’re all set!”, click “Finish”.
11. The new email account will now be listed, click Close.
12. You can now access your email as normal.